 Productivity Tip Productivity Tip
Some users are reluctant to add a new person until they become an actual client. This is not smart... Unless you have very different pre-sale activities with a client to that which we have experienced over the last 25 years, you are going to have several telephone conversations and probably 2-3 meetings before getting to the point of a sale. Much easier to end up at the point of sale if you have an audit trail of conversations, forward tasks etc... So if you are going to speak with a person more than once, put them in E-Broker.
|
Adding a new Member is very simple in Version 5, but the same basic rules as in Version 4.0 apply - is this person a brand new standalone Member, or are they a relative (spouse, child, employee etc...) of an existing Member? Two scenarios here:
 Add a new Member (not related to an existing Member)
| 1. | A good habit is to always check out first if a Member does exist by first doing a search for them through the F3 Screen. |
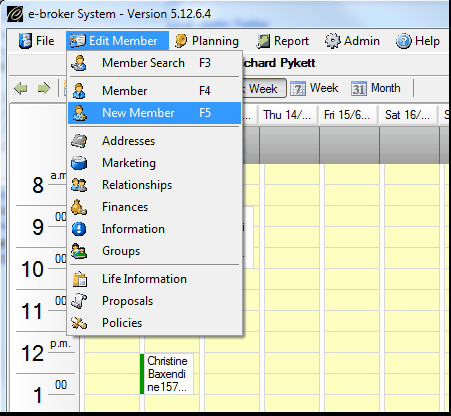
| 2. | If they don't exist, click on Edit Member on the top menu bar and select New Member. You can also use the keyboard shortcut F5. |
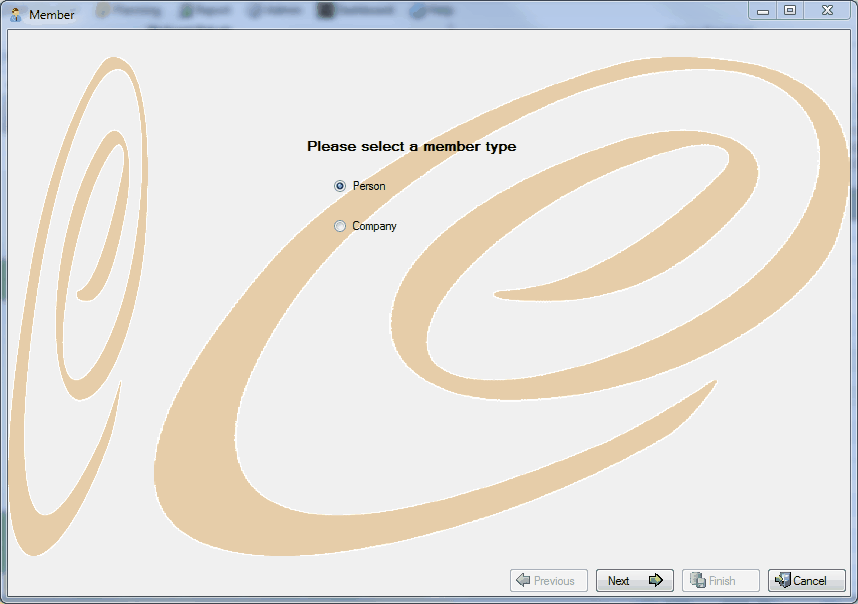
| 3. | You are now in the New Member Wizard. Select Person or Company as appropriate. Click Next at the bottom of the screen. |
| 4. | You are now presented with the appropriate Member or Company details screen. |
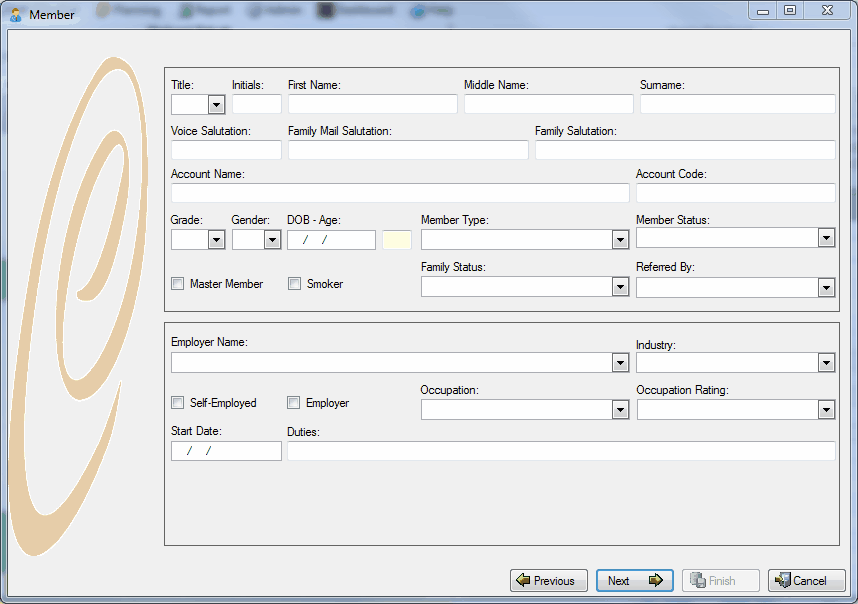
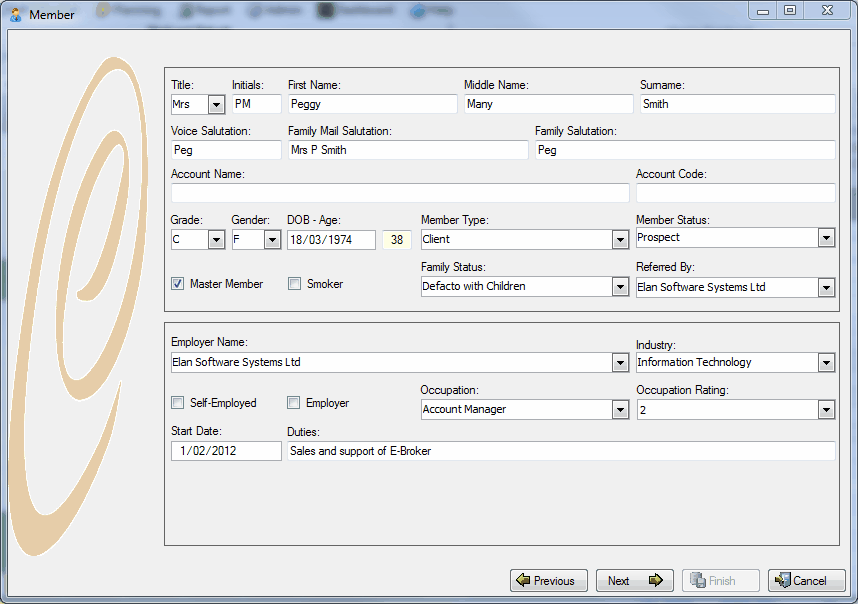
| 5. | Complete as many fields as you can and don't forget to set up the mailing salutations and flag as master member if they are. Tip - don't forget to load their first name as their actual legal name. So if she is legally Peggy Smith, but is known as Peg, put Peggy in the firstname box and Peg in Voice Salutation and Family Salutation. Don't forget to press F1 if you need some help with what the completed record should look like. |
| 6. | Press Next when you are finished and the system will take you to the Address Screen. |
| 7. | Quite a few changes here, with the system now doing most of the hard work for you. Please take your time and make sure things are right. A few extra moments spent here will make it so much easier later on when you are trying to do a Campaign. |
| 8. | Version 5.0 has a new address look up feature. Simply type part of the address into the address search box and press enter. The system will return you the correct address, suburb, mail town and postcode. Press enter again and the system will insert the chosen address into the address fields. |
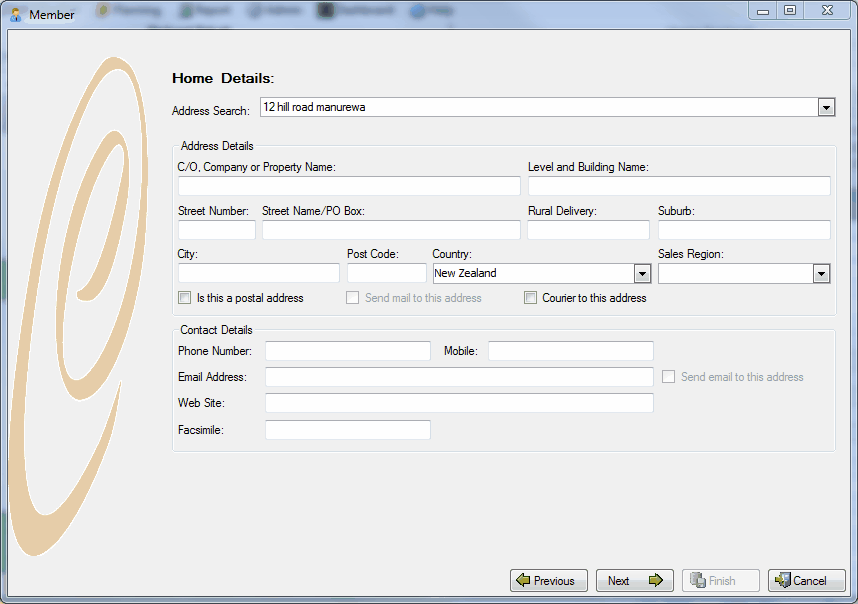
| 9. | Rather than creating several different types of addresses as you did before in division 4.0, simply fill in what you have in terms of telephone numbers and e-mail details etc... and the system will create these new address types for you. Remember to specify which e-mail and which postal address to use later for Campaigns. |
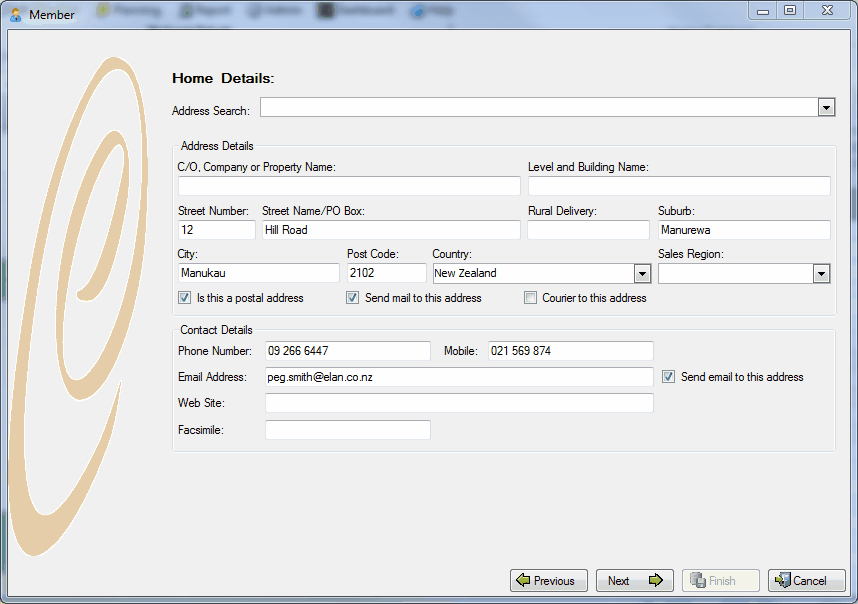
| 10. | Complete the next screen If the Home Postal is different - say a PO Box etc... and similarly complete the work details and work postal if known. |
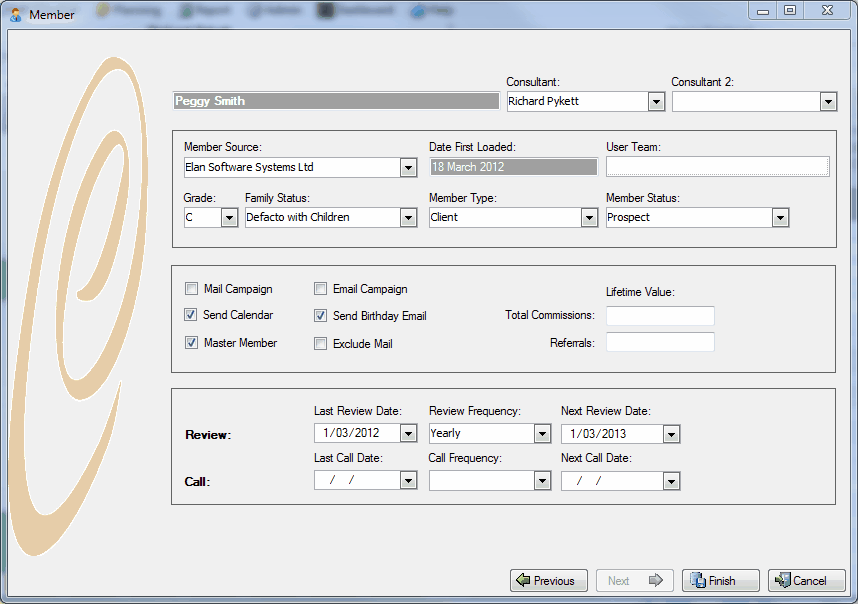
| 11. | Move through to the Marketing Screen and complete the Consultant Details and any marketing flags - e-mails, calendars etc... |
|
|
Add a new Relative
| 1. | If a relative or employer of the new person already exists in the database with the same address details, then the simplest way is to start from the relative and just copy across the address details. |
| 2. | Open up the Relative, go to their address screen and open this at the List View (top right hand tab). |
| 3. | Select the various addresses you want to transfer to the new person. As a minimum choose Voice, Physical and Postal. Hint - use Control and Click to select addresses which are not sitting next to one another. Hint 2 - best not to copy the email address if the new person does not have an email of their own. Having 2 members with identical emails, tends to confuse the inbound email synch. However in the case we are going to copy the email address and then just edit the email details once copied. |
| 4. | Right click once you have selected the addresses to copy. Choose New Relative and then the appropriate options. |
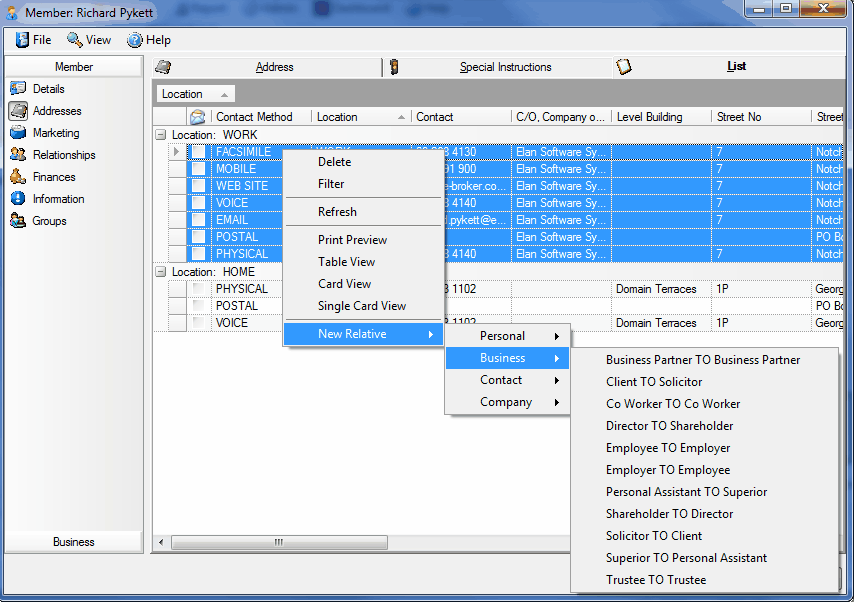
| 5. | Once you click on the relationship type, the system then takes you to the New Member Wizard as before. Complete the details as explained in the previous section. |
|
|

