 Productivity Tip Productivity Tip
Once you have gone through the needs analysis, looked at the premiums and decided where you are going to recommend the client places the cover, then you can tell the system of your Carrier choice for Risk and for Medical and then generate the base report.
|
 Choose a Carrier
| 1. | Once you have crunched the numbers, you are then able to specify a Carrier to recommend. |
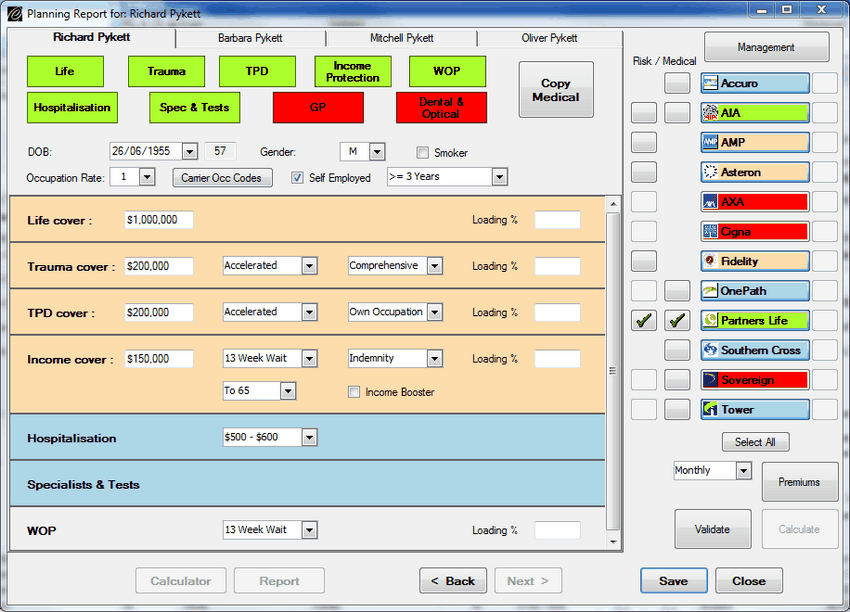
| 2. | Back at the Premium Calculator you can now place a tick against the Carrier you want to recommend for Risk and for Medical. |
| 3. | If you choose the same carrier for Risk and Medical, the premiums are quoted with the bundled discount if the carrier offers one. |
| 4. | The Carrier name bars change colour depending on whether they will supply the total solution, just the risk or just the medical. |
| 5. | In the example below, only two of the Carriers will supply the whole solution (issue with my age and DI cover now). |
| 6. | AIA and Partners will offer the total package, so are coded Green. |
| 7. | AMP, Asteron and Fidelity will offer the risk but not the medical. |
| 8. | Accuro, OnePath, Southern Cross and Tower will only offer the medical. |
| 9. | In this example we have selected Partners for both Risk and Medical, so it will be their numbers which go through to the end of the report in the recommendations section. |
|
Select the Report Sections
| 1. | After finishing with the Premium Calculations and clicking Next, you are taken to the Report Document Builder screen. |
| 2. | This screen presents you with the report template sections assembled in the starting order of the base template. |
| 3. | You can exclude any sections which are not applicable to the client |
| 4. | You can also reorder the sections if need be. |
| 5. | Click Next when finished. |

|
Generate the Report
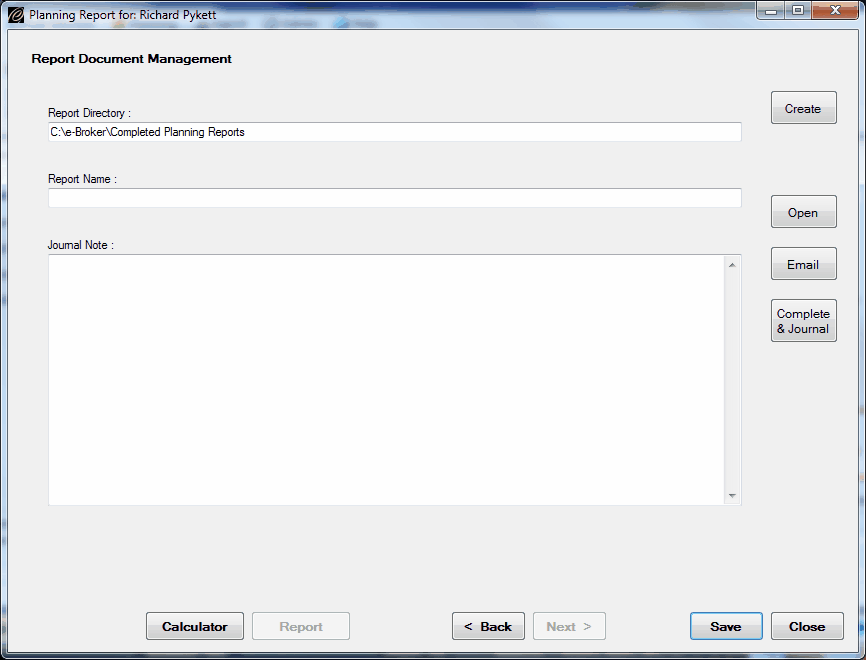
| 1. | After manipulating the report sections if you need to, you arrive at the Report Document Management screen. |
| 2. | If you have not yet created the report (so you are not back in this screen looking to edit an unfinished report) click Create. |
| 3. | You now get a progress bar at the bottom of the screen which runs backwards and forwards as the report is built in Word. |
| 4. | The report may open behind the screen you are in, so keep an eye on your Word icon in the bottom toolbar. |
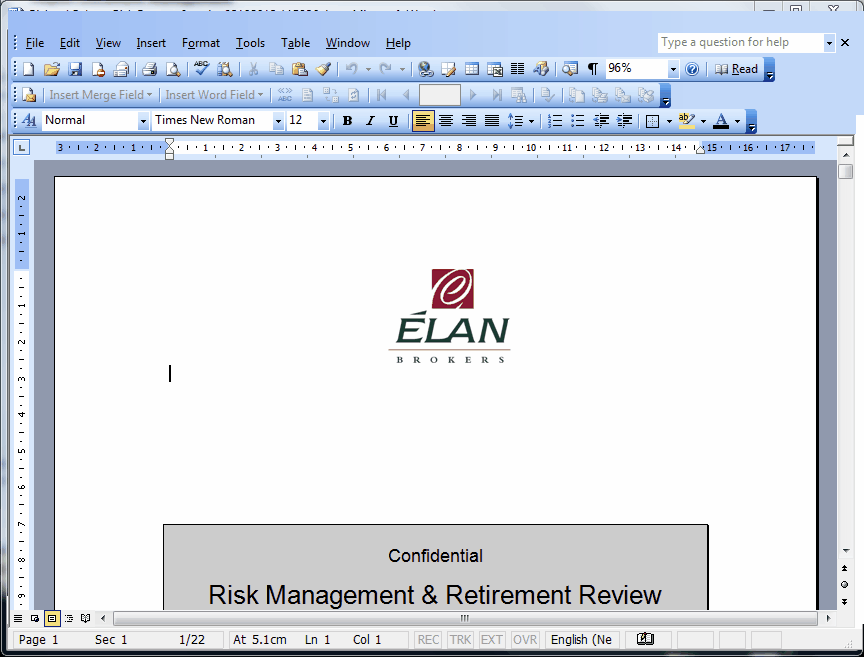
| 5. | Opening screen of the Report in Word. |
|
Edit the Report
| 1. | The Report generates in Word so now you can go through screen by screen to make your edits and add the bespoke text |
| 2. | The more time you have spent on getting your underlying templates right, the faster you will be at this point |
| 3. | We put lots of common scenarios into our own templates so that when you are editing the document to suit the client, you just need to delete sections where they are not appropriate - much faster than cutting and pasting in from outside. |
| 4. | Once you are finished editing, click the Word save icon and exit Word. |
| 5. | Click on the Save button to save the whole report process. |
|
Complete the Report
| 1. | Once you have finished editing the report and you complete the process, the system locks everything down and creates virtually a snapshot time capsule of the whole thing . All of the inputs (assets, liabilities, desired cashflows etc..) all of the crunched insurance or retirement amounts, the quote and premium rates at the time and finally the report, are all locked. |
| 2. | Please note therefore that once you complete the above process, that is it, the lid gets nailed on and there is no chance of changing anything. |
|
See Also: Management

